
Docker Hub Introduction
14 Dec 2020 | DockerIn this blog, I’m gotta show you how to use the docker hub. As the Share your images on docker hub has already explained its principal functionalities(take a look at Share your images on docker hub if you are not familair), and hence, I won’t explain it here again. This blog will explain other cool things about the docker hub for you. If you have any doubts or questions, please feel free to comments.
The primary thing is to sign up for the docker page. Finish all requirements and email verification, then when you have done, sign in your account and access your dashboard.
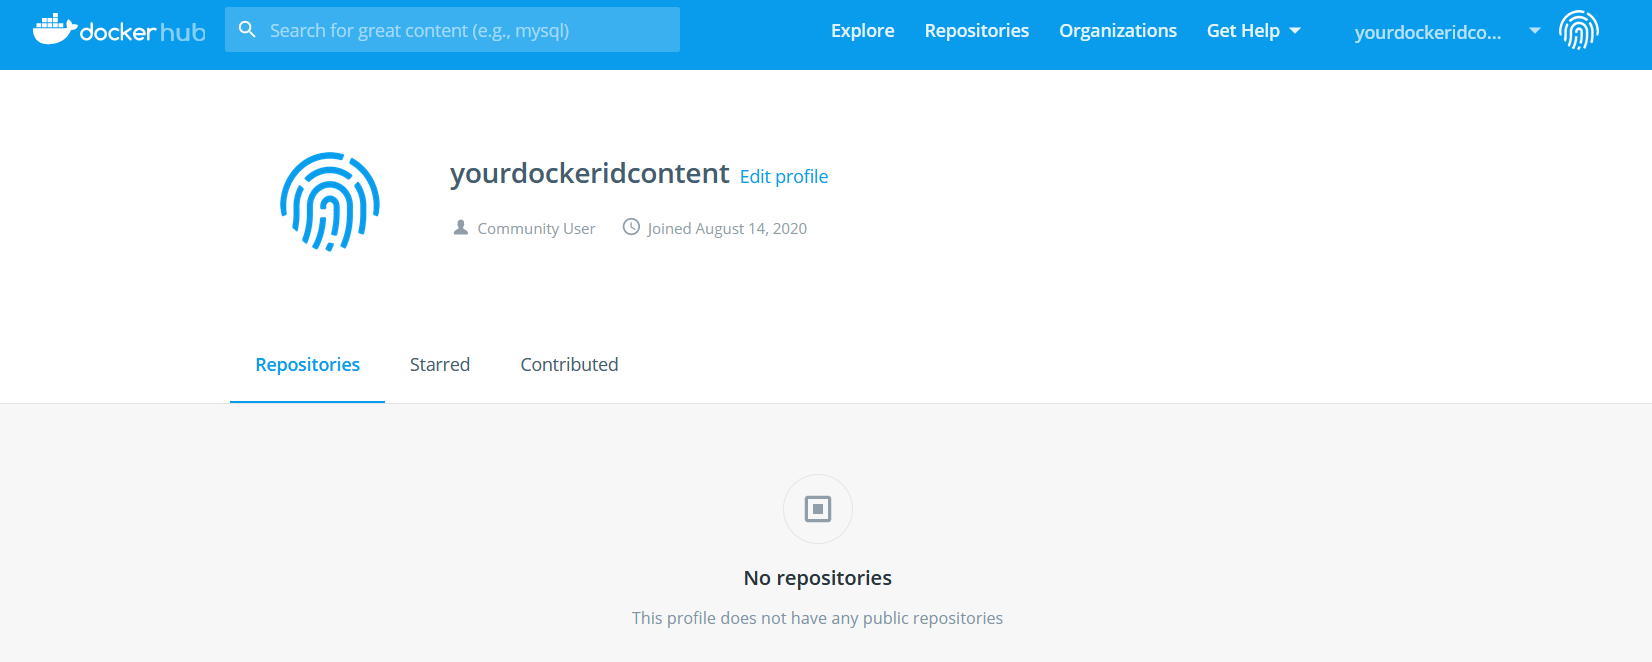 Docker dashboard
As you can see from the above dashboard, the principal advantages of docker page include that provide plenty of images, store and retrieve images, secure your account, etc.
When you create your repository, you can decide whether it’s private or public. A private repository means that only you can view it. Instead, a public repository means that anyone can view it. At present, the Docker hub is not completely free, and it provides two plan types, one is the free plan, the other one is the premium plan. The free plan only allows you to create only one private repository, and the premium doesn’ t have the limitation on the numbers of creating private repositories.
The Explore area provides you all public repositories, such as those public repositories that you created. Note that the private repository won’t list in the search result.
The Docker Hub also allows you to create an organization, which enables you to control who can create or view repositories as well as push or pull image changes.
If you have any questions, you can take a look at the documentation, or ask for help on docker forums.
Comments