Asp.Net Core Identity
09 Jun 2020 | CSharp-ASP.NET CoreThe previous article discussed how to use claim implements authentication, authentication basics, and its strength and weakness. ASP.NET CORE IDENTITY is another alternative way to implements authentication. Before this article start, let’s take a look at what’s is ASP.NET CORE IDENTITY.
ASP.NET Core Identity:
- Is an API that supports user interface (UI) login functionality.
- Manages users, passwords, profile data, roles, claims, tokens, email confirmation, and more.
According to the above explanation, ASP.NET CORE IDENTITY is a little bit of a difference with claims. We need to provides additional components that ASP.NET CORE IDENTITY needs, for example, the database.
You can found this project’s source code in Github authentication&authorization.
Deploy Settings
As ASP.NET CORE IDENTITY requires a database setting, I use the SQL server database. And because I use Entity Framework Core, so it doesn’t need me to create a database manually. Following is my database connection configuration.
services.AddDbContext<AppDbContext>(options =>
        options.UseSqlServer("Server=.;Database=IdentityAuthentication;Trusted_Connection=True;")
);
If you are unfamiliar with the entity framework core, take a look at ef core.
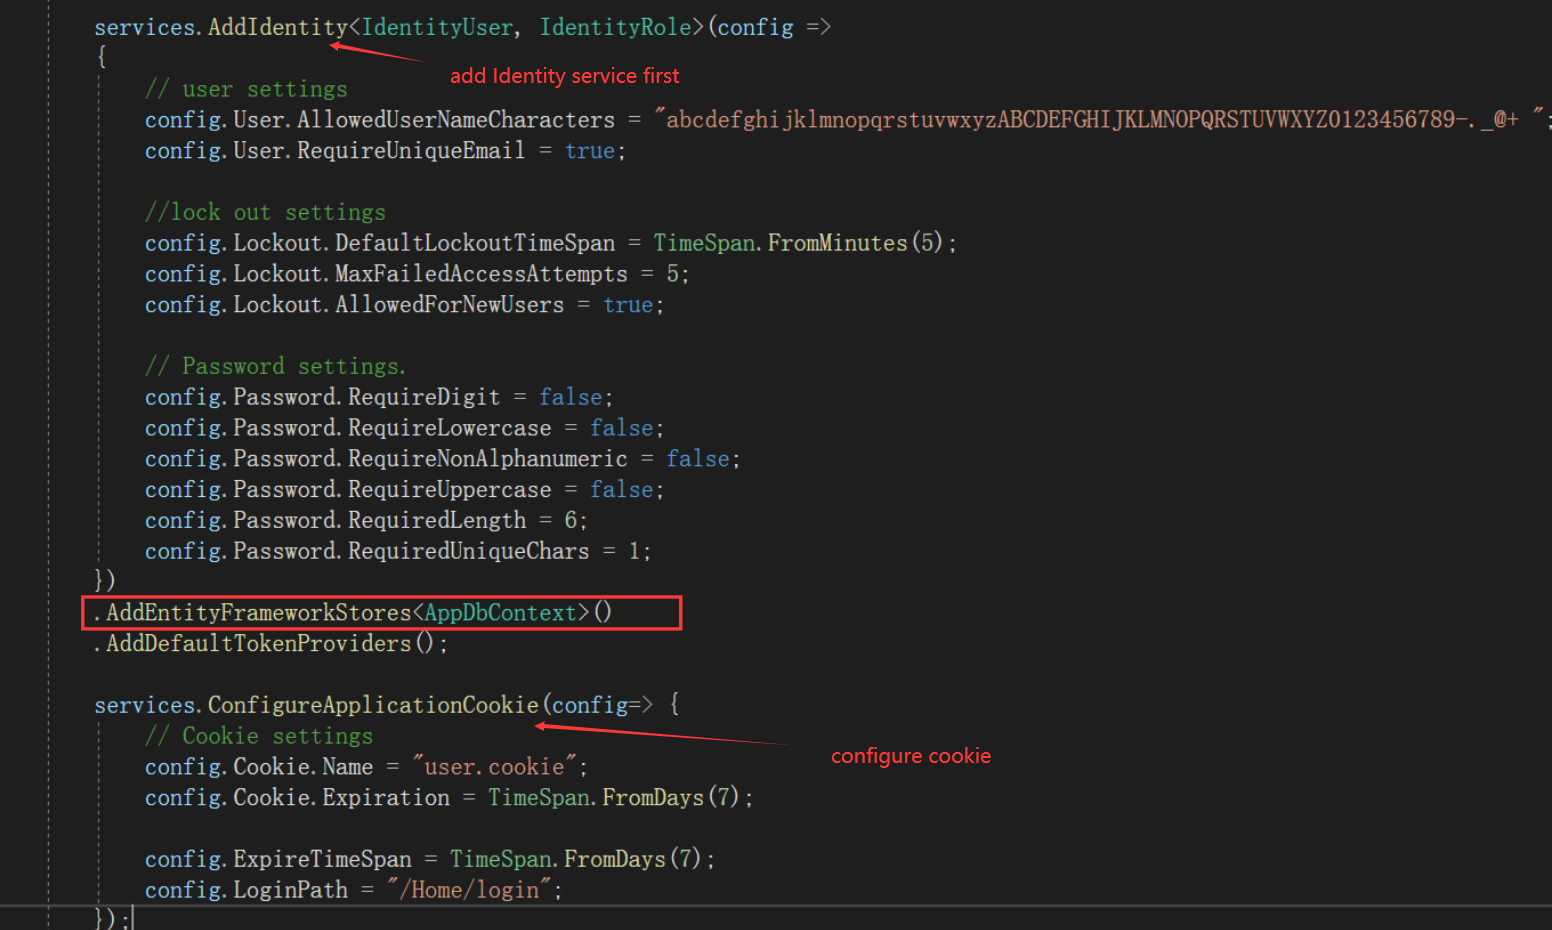
The typical pattern is to call all the Add{Service} methods, and then call all the services.Configure{Service} methods.
public void ConfigureServices(IServiceCollection services)
{
    services.AddDbContext<AppDbContext>(options =>
            options.UseSqlServer("Server=.;Database=IdentityAuthentication;Trusted_Connection=True;")
    );
    services.AddIdentity<IdentityUser, IdentityRole>(config =>
    {
        // user settings
        config.User.AllowedUserNameCharacters = "abcdefghijklmnopqrstuvwxyzABCDEFGHIJKLMNOPQRSTUVWXYZ0123456789-._@+ ";
        config.User.RequireUniqueEmail = true;

        //lock out settings
        config.Lockout.DefaultLockoutTimeSpan = TimeSpan.FromMinutes(5);
        config.Lockout.MaxFailedAccessAttempts = 5;
        config.Lockout.AllowedForNewUsers = true;

        // Password settings.
        config.Password.RequireDigit = false;
        config.Password.RequireLowercase = false;
        config.Password.RequireNonAlphanumeric = false;
        config.Password.RequireUppercase = false;
        config.Password.RequiredLength = 6;
        config.Password.RequiredUniqueChars = 1;
    })
    .AddEntityFrameworkStores<AppDbContext>()
    .AddDefaultTokenProviders();

    services.ConfigureApplicationCookie(config=> {
        // Cookie settings
        config.Cookie.Name = "user.cookie";
        config.Cookie.Expiration = TimeSpan.FromDays(7);

        config.ExpireTimeSpan = TimeSpan.FromDays(7);
        config.LoginPath = "/Home/login";
    });
    services.AddControllersWithViews().AddRazorRuntimeCompilation();
}
The above configuration specifies various authentication configurations, and it is similar to the previous claim example. In this example, I use AddIdentity() rather than AddAuthentication().

Even though the implementation is different, however, their implementation thoughts are the same. Another thing to note is the AddEntityFrameworkStores<T>() method, so we need to install and import the Microsoft.AspNetCore.Identity.EntityFrameworkCore package.
LOG IN
[HttpPost]
public async Task<IActionResult> Loginin(String name, String password)
{
    var user = await _userManager.FindByNameAsync(name);
    if (user != null)
    {
        //sign in
        var signResult = await _signInManager.PasswordSignInAsync(user, password, false, false);
        if (signResult.Succeeded)
        {
            return RedirectToAction("Userinfo");
        }
    }
    return RedirectToAction("Login");
}
The _userManager is a UserManager type, which manages user information. If you take a look at the previous claim authentication login part, you will find out that this login method is much simpler.
The UserManager.FindByNameAsync method will query the database, which we provided before, to check is if the user exists. Identity does a lot of work under the code, so it’s much easier for us to focus on business logic concentratedly.
LOG OUT
public async Task<IActionResult> Loginout() {
    await _signInManager.SignOutAsync();
    return RedirectToAction("Login");
}
Log out is quite easy, you only need to invoke SignOutAsync() or SignOut() on _signInManager, which is a SignInManager instance.
REGISTER
[HttpPost]
public async Task<IActionResult> Registerup(String name,String email, String password)
{
    var user = new IdentityUser
    {
        UserName = name,
        Email = email
    };
    var result = await _userManager.CreateAsync(user, password);
    if (result.Succeeded)
    {
        var res = await _signInManager.PasswordSignInAsync(user, password, false, false);
        if (res.Succeeded)
            return RedirectToAction("Userinfo");
    }
    return RedirectToAction("Login");
}
Register a new user is also very easy. As the Identity Authentication will do most of the work, so we only need to create an IdentityUser instance, then invoke the CreateAsync() method, and pass in our user and password.
Test Identity
The default web project templates allow anonymous access to the home pages. To test authorization or identity, add [Authorize]:
[Authorize]
public IActionResult Userinfo() {
    return View();
}
You also can retrieve the user information back as the following methods.
@using Microsoft.AspNetCore.Identity
@inject UserManager<IdentityUser> userManager
@{
    var user = await userManager.GetUserAsync(User);
}
<h1>
    User information page
</h1>
<br />
@if (user != null)
{
    <span>name: </span><span>@user.NormalizedUserName</span>
    <br />
    <span>email: </span><span>@user.NormalizedEmail</span>
    <br />
    <span>my password hash: </span><span>@user.PasswordHash</span>
}
else
{
    <div> authentication failed </div>
}
Conclusion
According to the preceding article and this article, we have studied how to use identity authentication and claim authentication. Identity authentication provides a complete function, which includes database operation, user management, etc.. so you don’t need to operate SQL operations by yourself. However, Claim authentication doesn’t provide SQL operations, so you have to implement SQL operations by yourself manually.

Comments